So since I started sewing, quilting and crafting I have learned a few things that I wish someone had told me earlier. So in this post I'm going to give you some of these tips that I've learned so maybe you won't have to learn them the hard way. This is for the new sewer and maybe the experienced sewer too, and hopefully it helps!
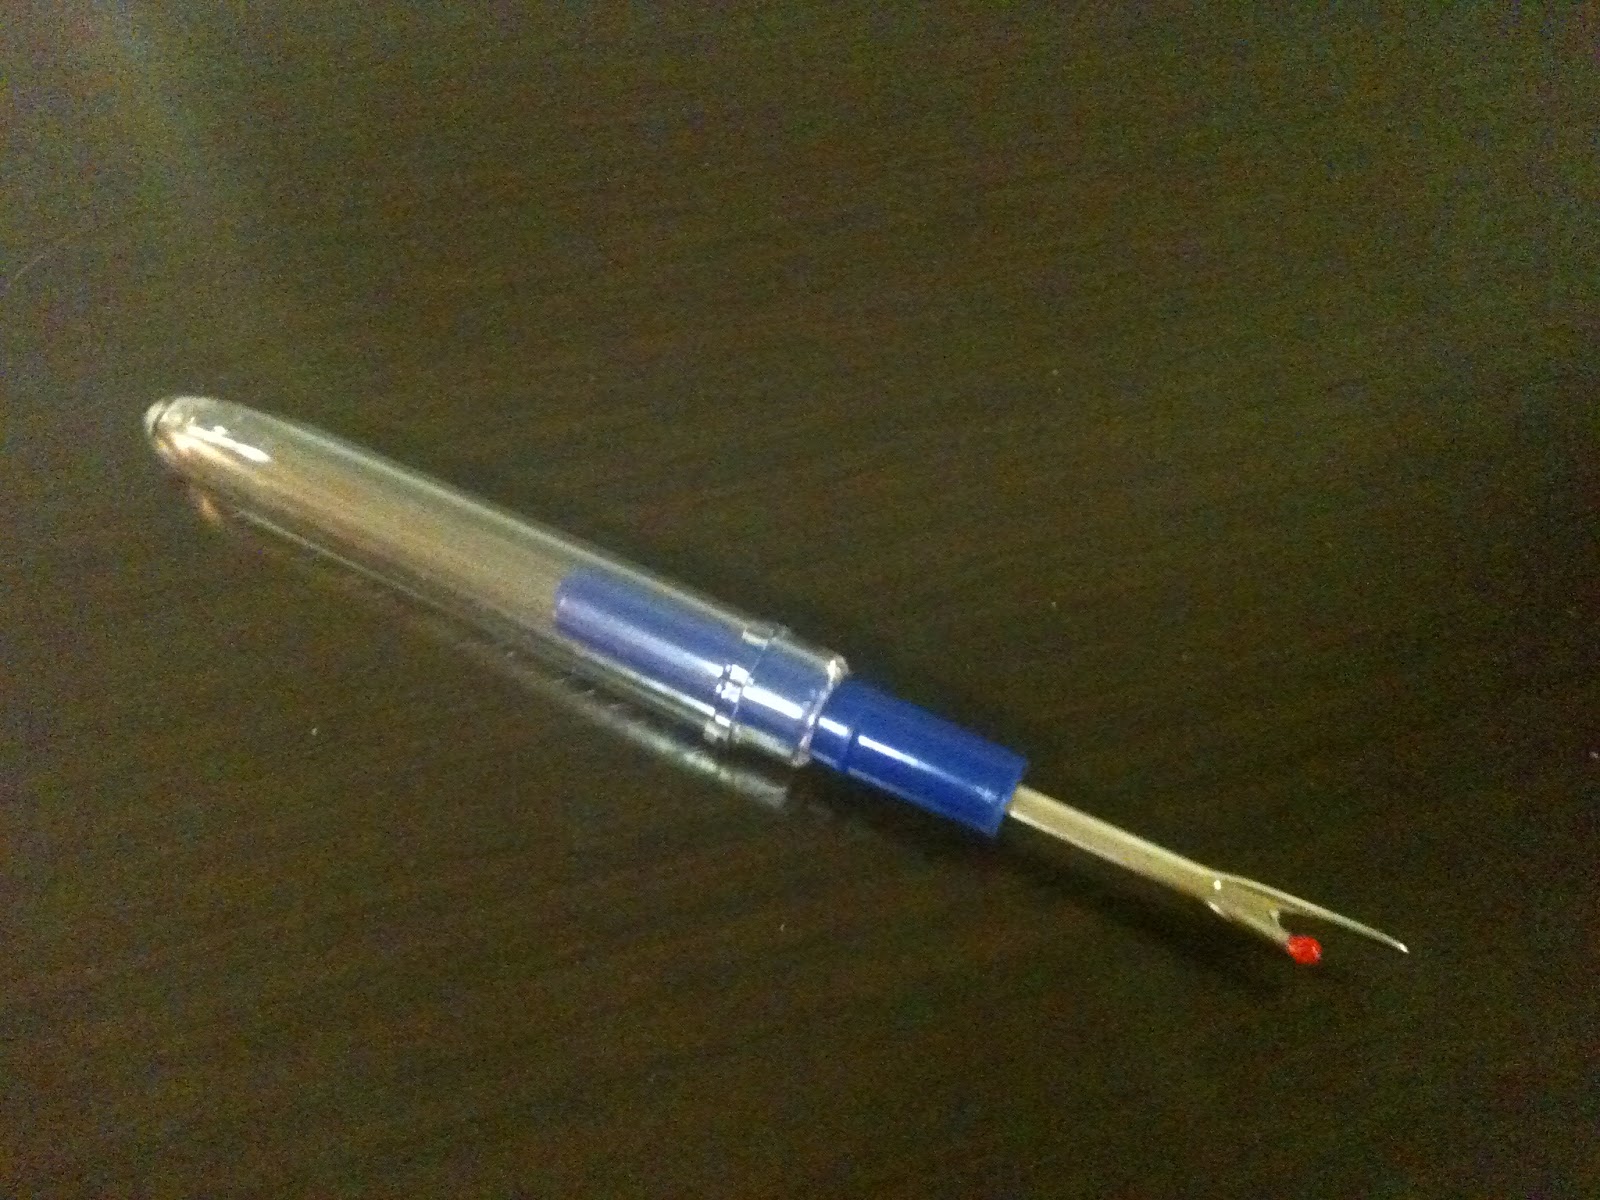
10. Learn to love your stitch ripper. Always have a stitch ripper handy, since if something goes wrong and you can't find one, you're much more likely to give up and just leave it or not go back to the project (or at least I know I am).

9. Know your fabrics. When making something you really do want to use fabric that are made of the same materials. This is because if you go to wash it and you have some polyester blend and some cotton fabrics then they may shrink or move in different ways ruining all your hard work!
8. Read the whole pattern/tutorial first! The worst thing is getting half way through a project and realizing you don't have something you need, or don't know how to do something in the project, or the worst of all that you've made a horrible mistake and have to start again! So I usually take 5 minutes to read through the entire (yes I know its a lot), project before starting.
7. Be creative, use your decorative stitches! So many machines these days come with these so may as well use them! Learn what your decorative stitches look like (if your machine has them). I love mine, and you really can use them in so many places so try and be creative!
PS. I will try and put in my future tutorials where I may put a decorative stitch or where it may be nice so that if you're not creative (and that's just fine!) then you can still use those stitches that so often are never used on a machine.

6. Know your machine. Make sure you understand how to lock a stitch on your machine (whether its a fix or just reversing at the start and end of each stitch line), what feet you have and what they are best for, and so on. I find it best here to sit down and read your manual and try all the things it says you can do on scrap fabric so that when you want to use these features you can and don't have to learn later.


5. Don't be afraid. I can't tell you how many times I've come across a pattern and had no idea what half of it meant, and I still come across this (hence the experienced beginner!). Don't get scared and not try the pattern, try the internet for video tutorials, tips, and definitions of how to do things or what things are! I learned a lot of what I now know this way, so use all that the internet offers. Also don't be afraid to ask, you can comment on this blog and I will try and help you, or you can ask at your local sewing or quilting store (the people at my fabric shops arn't very nice so I go to quilting shops where everyone is very helpful, this is just my, and some friends, experience though so try your local stores!)
4. Have a tidy work space. Well at least at the beginning of a project, this makes things a lot easier to lay out and see what's going on while you work your way through the project. Too many times have I sewed a piece of cut off (no scrap) fabric to a good piece, and then had to find my stitch ripper (see # 10) and then start that part all over again.
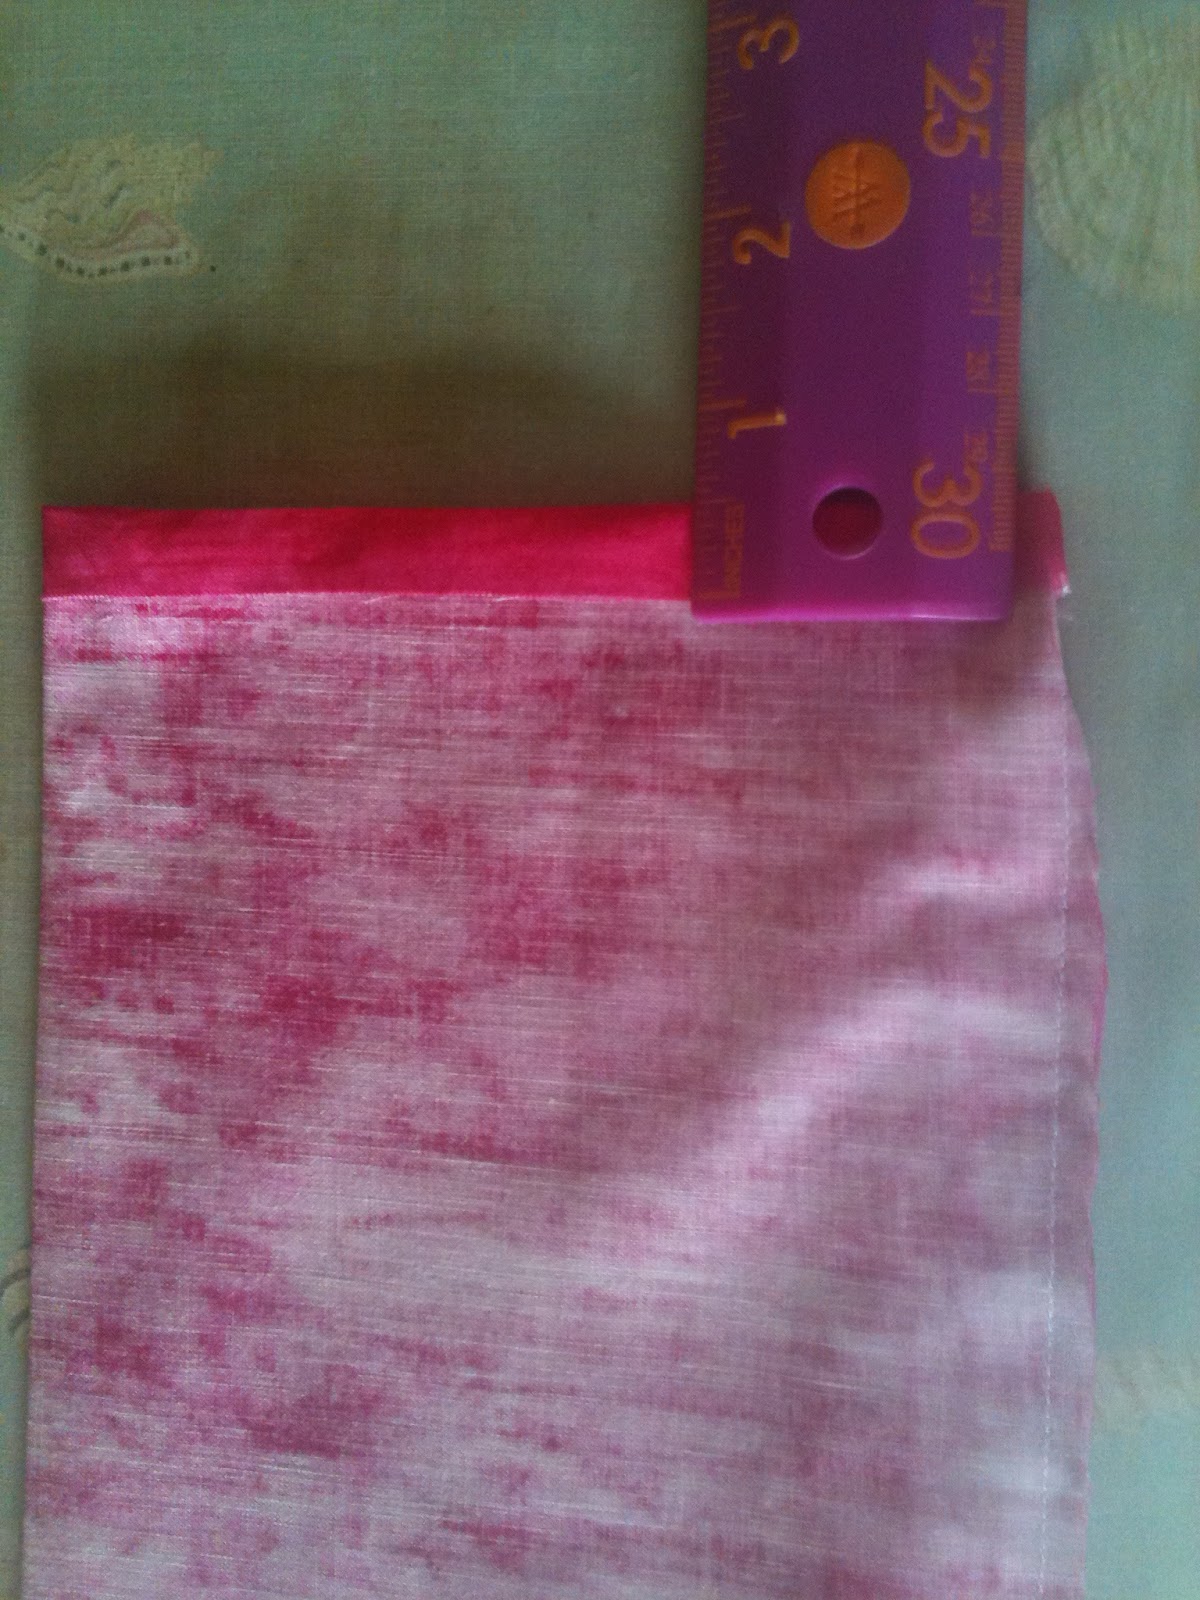
3. Iron, iron everything! When you iron your seams (I usually split in the middle) you really get a better finished product. I know I curse my iron too every time I have to get it out and use but it truly does help! They also sell little irons meant just for seams that a lot of people love, I've never tried one but it may be an option for you!

2. Find what best for you. Try lots of different things, and figure out what works the best for you when you're sewing, so if you really really really hate irons (even more than me, which would have to be an awful lot!) then don't use them for most of your projects. So sew lots and lots, and this will help you become a better, since as we all know practice makes perfect!
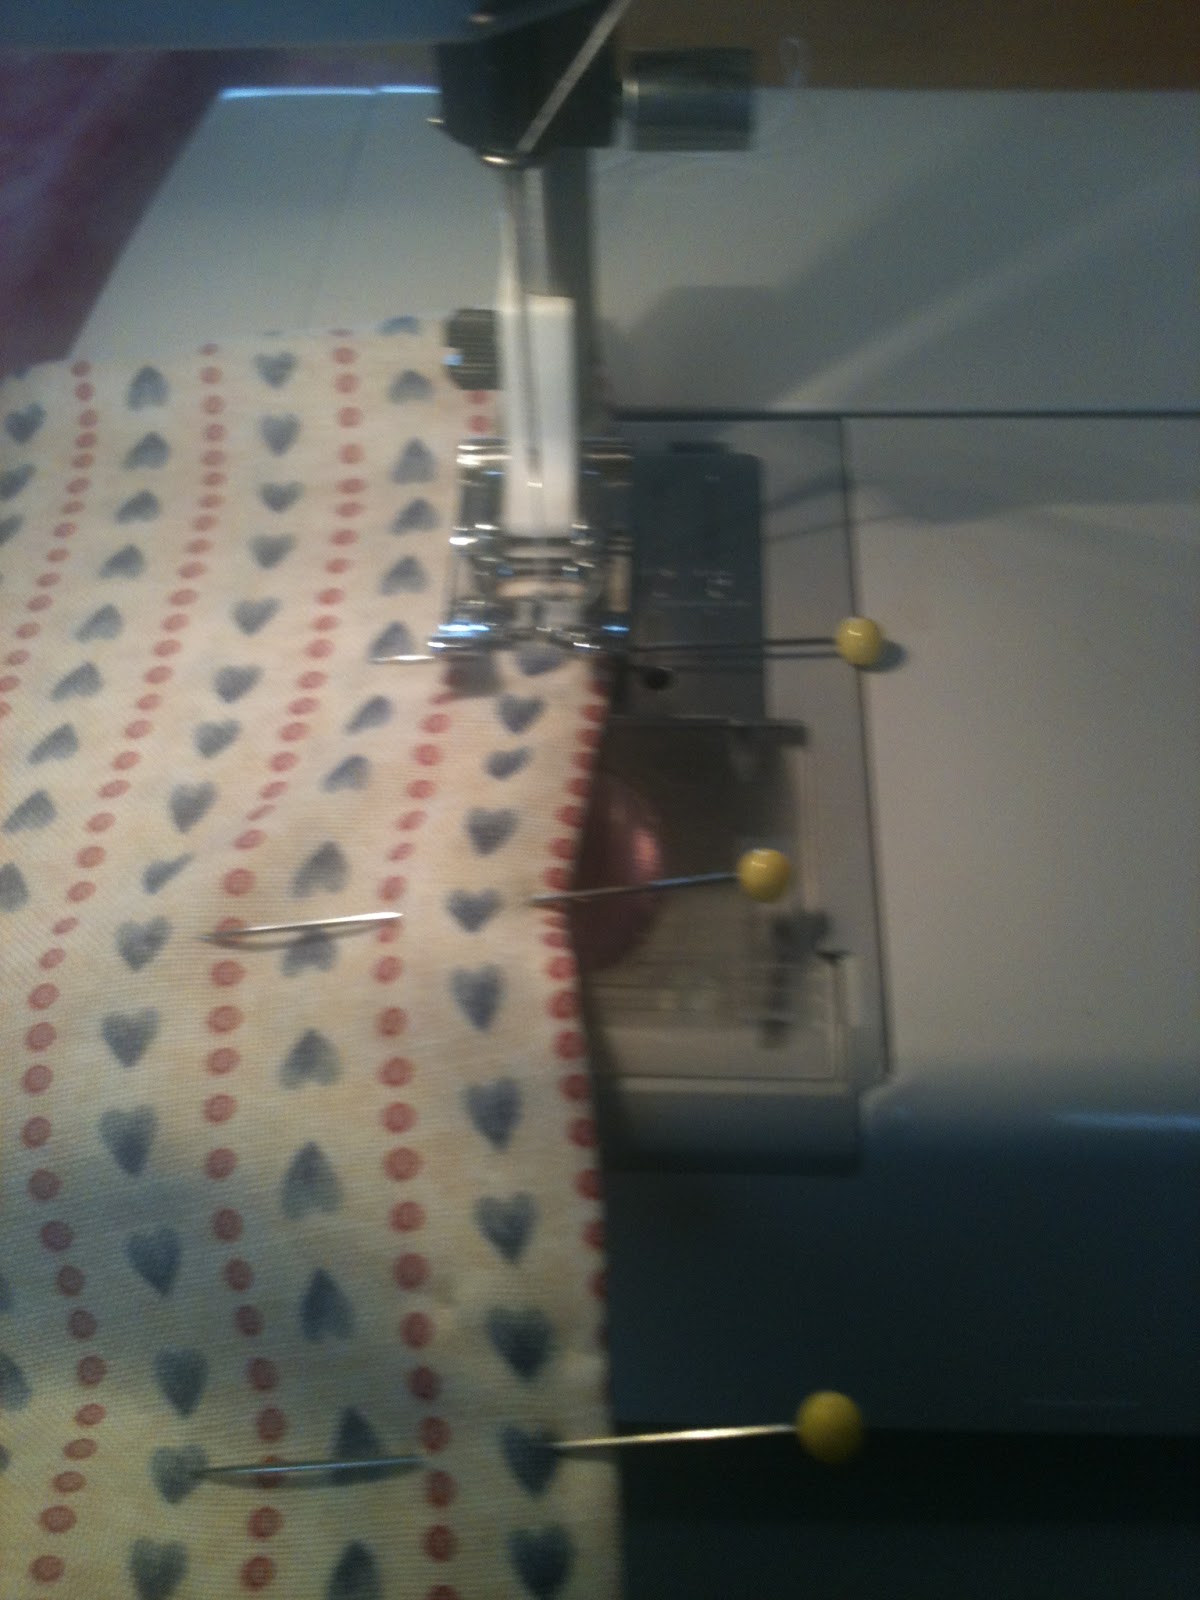
1. Pin pin pin! I know its time consuming but it really does give you better finished project. This is really something I've had to learn the hard way ... and I still convince myself that I can do something without pins, and then I find out once again that I was wrong. I also love pins with glass heads so you can iron right over them, but if I'm quilting I use longer ones with little yellow flower heads (most stores have both).